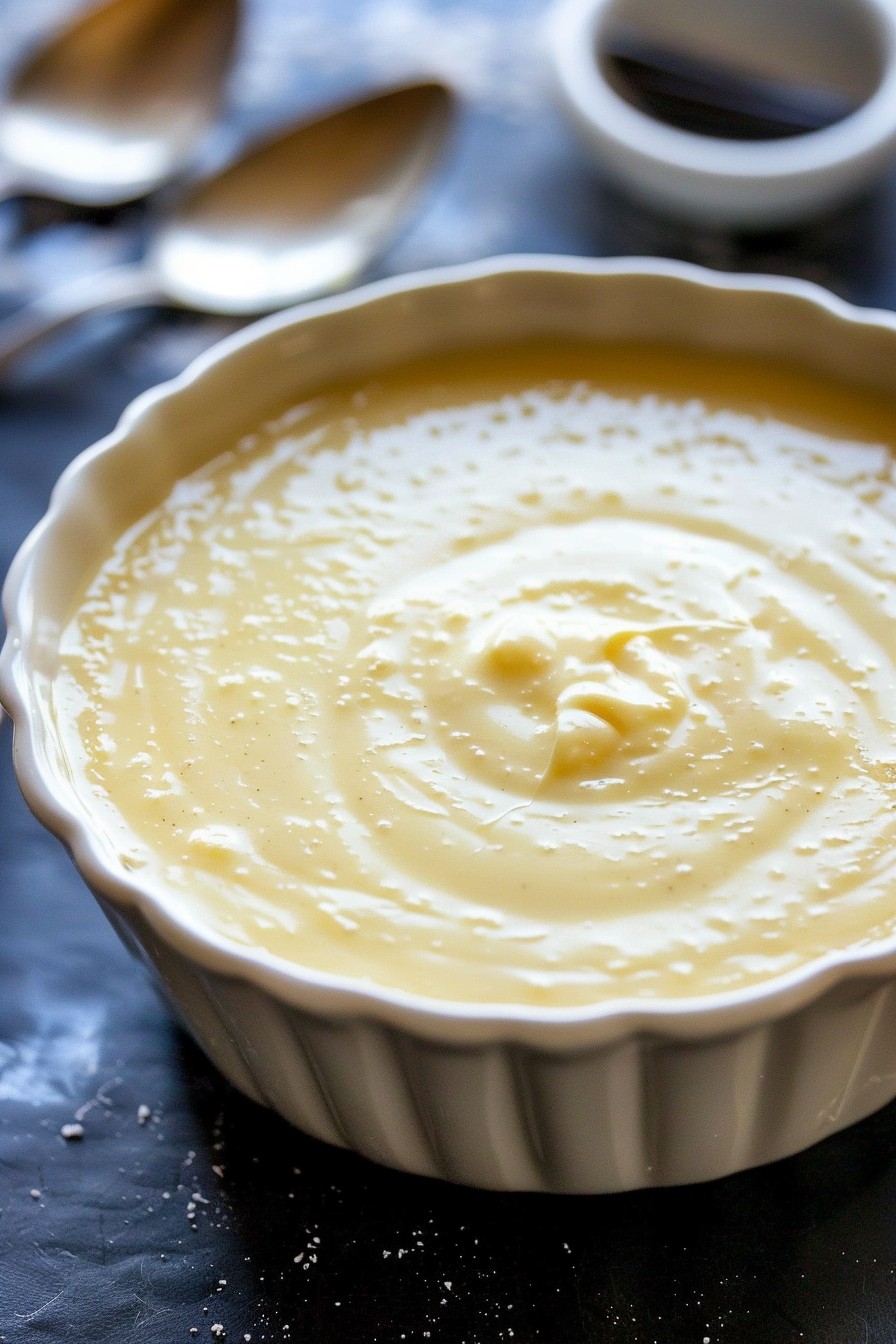
Unlock the secret to the creamiest, dreamiest custard filling that’ll elevate your cakes from good to ‘can I have another slice?’ This recipe is your ticket to dessert fame, combining simplicity with decadence in every spoonful.
Why This Recipe Works
- Uses simple, pantry-staple ingredients for a hassle-free baking experience.
- The perfect balance of sweetness and richness, making it versatile for any cake.
- Step-by-step instructions ensure a smooth, lump-free custard every time.
- Customizable with various flavors and add-ins to suit any taste.
- Quick to prepare, allowing more time for decorating and enjoying your cake.
Ingredients
- 2 cups whole milk
- 1/2 cup granulated sugar
- 1/4 cup cornstarch
- 4 large egg yolks
- 2 teaspoons vanilla extract
- 1 tablespoon unsalted butter
Equipment Needed
- Medium saucepan
- Whisk
- Mixing bowls
- Measuring cups and spoons
- Rubber spatula
Instructions
Step 1: Heat the Milk
Pour the milk into a medium saucepan and heat over medium heat until it’s just about to simmer. You’ll see small bubbles forming around the edges. This usually takes about 5 minutes. Tip: Stir occasionally to prevent the milk from scorching at the bottom.
Step 2: Mix Dry Ingredients
While the milk is heating, whisk together the sugar and cornstarch in a separate bowl. This ensures there are no lumps when you add them to the milk. Tip: Sifting the cornstarch can help avoid any potential clumps.
Step 3: Temper the Egg Yolks
In another bowl, lightly beat the egg yolks. Gradually add a small amount of the hot milk to the yolks, whisking constantly. This process, called tempering, prevents the eggs from scrambling when added to the hot milk.
Step 4: Combine and Cook
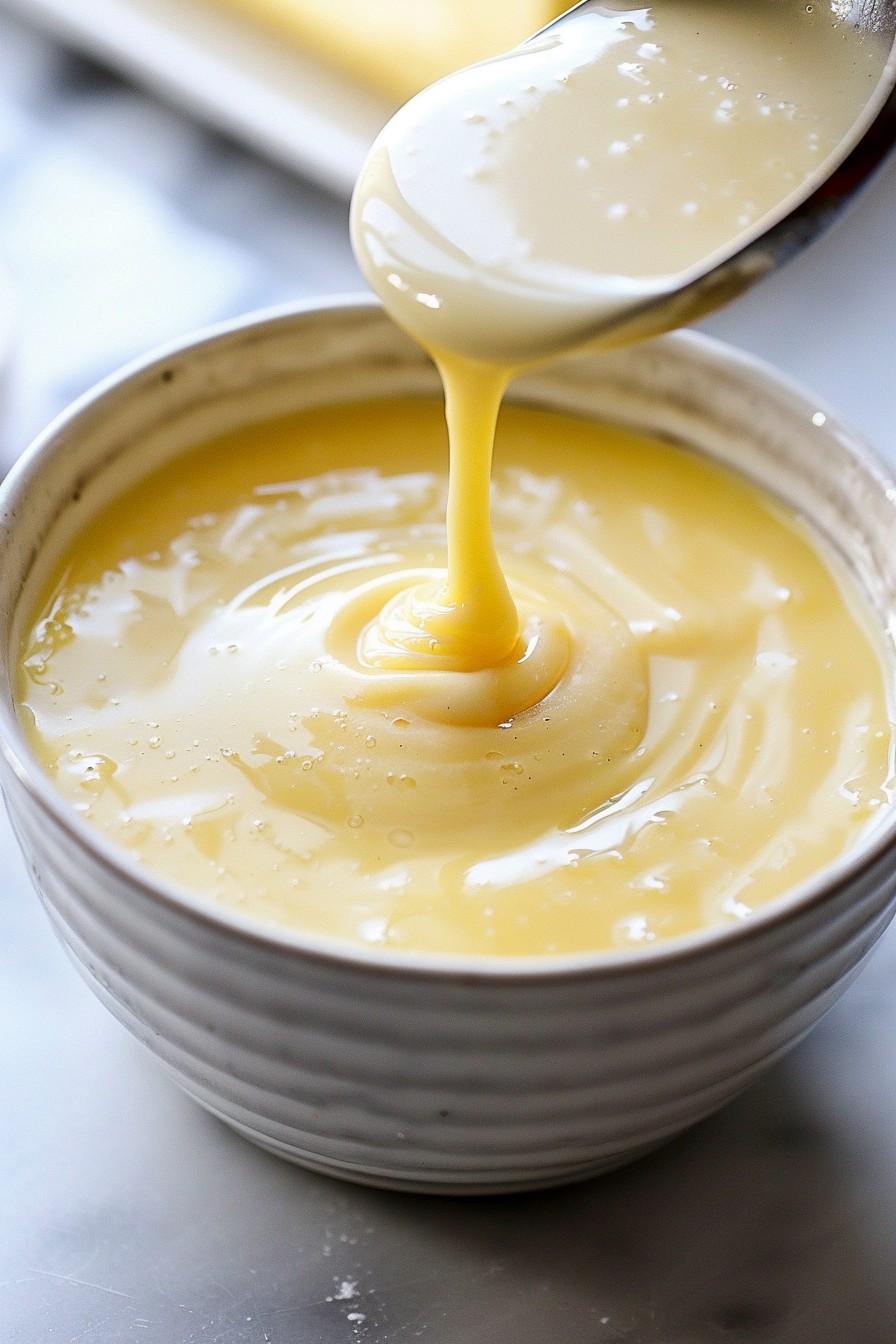
Pour the tempered egg mixture back into the saucepan with the remaining milk. Cook over medium heat, whisking constantly, until the mixture thickens and coats the back of a spoon, about 5-7 minutes. Tip: Don’t walk away during this step; custard can go from perfect to overcooked quickly.
Step 5: Finish the Custard
Remove the saucepan from the heat. Stir in the vanilla extract and butter until fully incorporated. The butter adds a luxurious richness to the custard. Let it cool slightly before using it as a cake filling.
Tips and Tricks
For an even smoother custard, strain it through a fine-mesh sieve after cooking to remove any cooked egg bits. If you’re not using the custard immediately, press plastic wrap directly onto the surface to prevent a skin from forming. For a lighter version, you can substitute half of the milk with heavy cream for a richer flavor. Experiment with adding citrus zest or a splash of liqueur for an adult twist. Remember, custard thickens as it cools, so don’t overdo it on the heat.
Recipe Variations
- Chocolate Custard: Add 1/4 cup cocoa powder to the dry ingredients for a chocolatey twist.
- Fruit Flavored: Stir in 1/2 cup fruit puree after cooking for a fruity custard.
- Coconut Custard: Replace half of the milk with coconut milk for a tropical flavor.
- Spiced Custard: Add a teaspoon of cinnamon or pumpkin pie spice to the dry ingredients for a warm, spiced custard.
- Mocha Custard: Dissolve a tablespoon of instant coffee in the milk before heating for a coffee-infused custard.
Frequently Asked Questions
Can I make this custard ahead of time? Absolutely! This custard can be made up to 3 days in advance. Just keep it refrigerated and give it a good stir before using to bring back its creamy texture.
Can I use this custard for pies? Yes, this custard is versatile enough to be used as a pie filling. Just pour it into a pre-baked pie shell and chill until set.
How can I fix lumpy custard? If your custard ends up lumpy, don’t panic. Simply strain it through a fine-mesh sieve to remove any lumps, and it’ll be as good as new.
Summary
This cake filling custard recipe is a game-changer for any baker looking to add a touch of elegance and flavor to their cakes. With its creamy texture and versatile nature, it’s sure to become a staple in your baking repertoire.