Summer’s here, and what better way to beat the heat than with these easy-to-make frozen yogurt bites? Perfect for a quick snack or a healthy dessert, these bites are not only delicious but also packed with probiotics. Let’s dive into how you can whip up this chilly treat in no time!
Why This Recipe Works
- Quick and Easy: With just a few ingredients and minimal prep time, these frozen yogurt bites are the perfect last-minute treat.
- Healthy Snack: Made with Greek yogurt, these bites are a great source of protein and probiotics, making them a guilt-free indulgence.
- Kid-Friendly: These bite-sized treats are perfect for little hands and can be customized with various toppings to suit any palate.
- Versatile: Whether you’re in the mood for something sweet or tangy, this recipe can be easily adapted to satisfy your cravings.
Ingredients
- 2 cups Greek yogurt (plain or flavored)
- 2 tbsp honey (adjust to taste)
- 1/2 cup fresh berries (for topping)
- 1/4 cup granola (for crunch)
Equipment Needed
- Muffin tin or silicone mold
- Mixing bowl
- Whisk or spoon
- Freezer
Instructions
Step 1: Mix the Yogurt and Honey
In a mixing bowl, combine the Greek yogurt and honey. Whisk together until the honey is fully incorporated. Taste and adjust the sweetness if necessary. This is your base, so make sure it’s to your liking!
Step 2: Prepare the Mold
Lightly grease your muffin tin or silicone mold to ensure the yogurt bites pop out easily after freezing. If you’re using a silicone mold, this step might be optional, but a little non-stick spray never hurts.
Step 3: Fill the Mold
Spoon the yogurt mixture into the mold, filling each cavity about three-quarters full. This leaves room for toppings and makes the bites easier to remove once frozen.
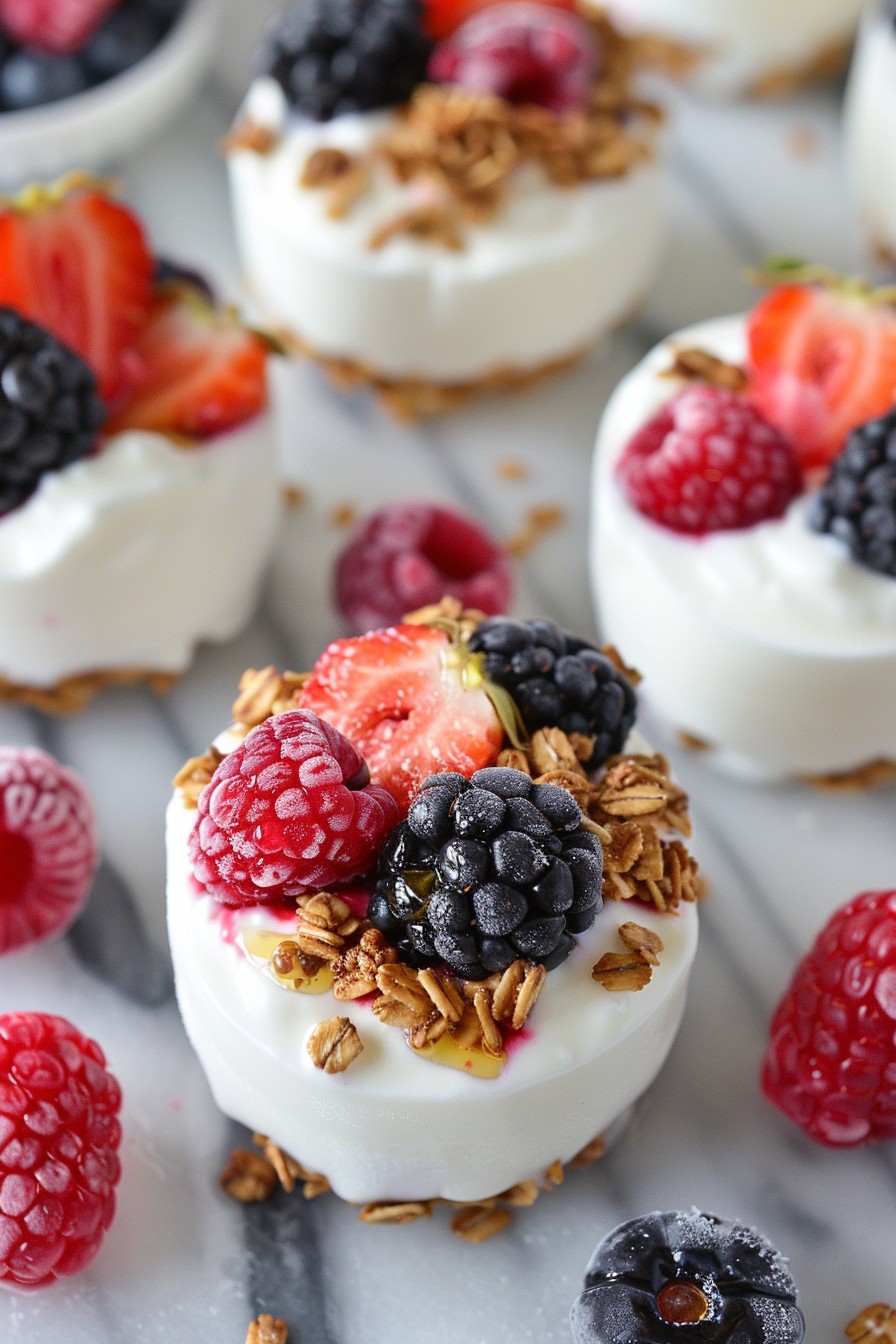
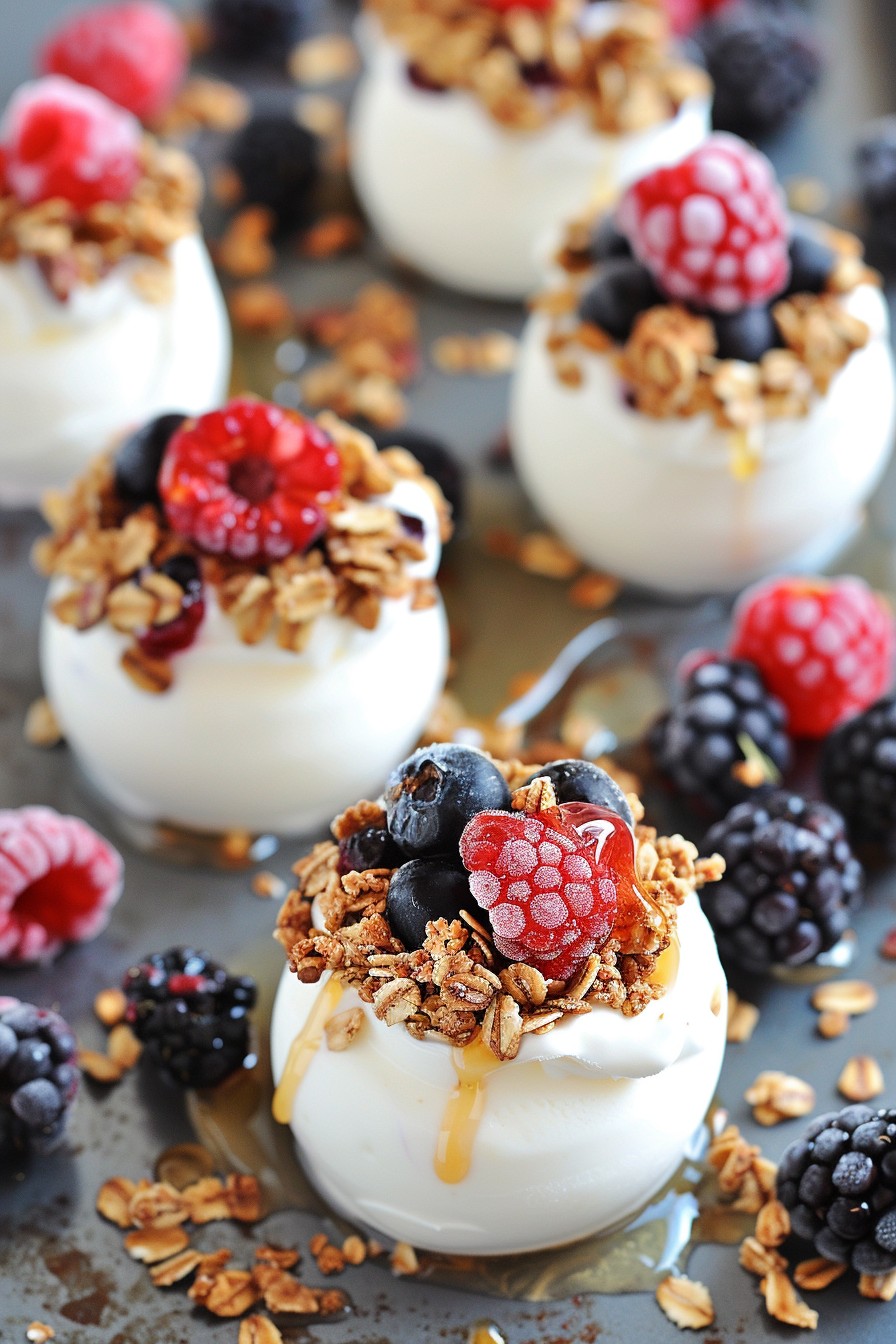
Step 4: Add Toppings
Now for the fun part! Sprinkle your choice of toppings over each yogurt bite. Fresh berries and granola add a nice texture and flavor contrast, but feel free to get creative.
Step 5: Freeze Until Solid
Place the mold in the freezer and let it sit for at least 4 hours, or until the yogurt bites are completely frozen. For best results, leave them overnight.
Tips and Tricks
For a smoother texture, strain your Greek yogurt for a few hours before using it to remove excess whey. This makes the bites creamier. If you’re short on time, using flavored yogurt can skip the honey step, but watch out for added sugars. To easily remove the bites from the mold, let them sit at room temperature for a couple of minutes before popping them out. For a fun twist, try layering different flavors or colors of yogurt for a rainbow effect.
Recipe Variations
- Chocolate Lovers: Mix in cocoa powder or chocolate chips into the yogurt before freezing.
- Tropical Twist: Use coconut yogurt and top with diced mango and toasted coconut flakes.
- Nutty Delight: Add chopped nuts or nut butter to the yogurt mixture for an extra protein kick.
- Seasonal Special: Incorporate pureed pumpkin and pumpkin spice for a fall-inspired treat.
Frequently Asked Questions
Can I use regular yogurt instead of Greek yogurt?
Yes, you can use regular yogurt, but keep in mind that it’s thinner than Greek yogurt, so the bites might not hold their shape as well. Straining the yogurt beforehand can help achieve a thicker consistency similar to Greek yogurt.
How long do these frozen yogurt bites last in the freezer?
Stored properly in an airtight container, these bites can last up to 2 months in the freezer. However, for the best texture and flavor, it’s recommended to enjoy them within the first month.
Can I make these dairy-free?
Absolutely! Just substitute the Greek yogurt with your favorite dairy-free yogurt alternative. Coconut yogurt works particularly well for a creamy texture and adds a subtle tropical flavor.
Summary
These frozen yogurt bites are a simple, healthy, and versatile treat perfect for any time of the year. With endless customization options, they’re sure to become a staple in your freezer.