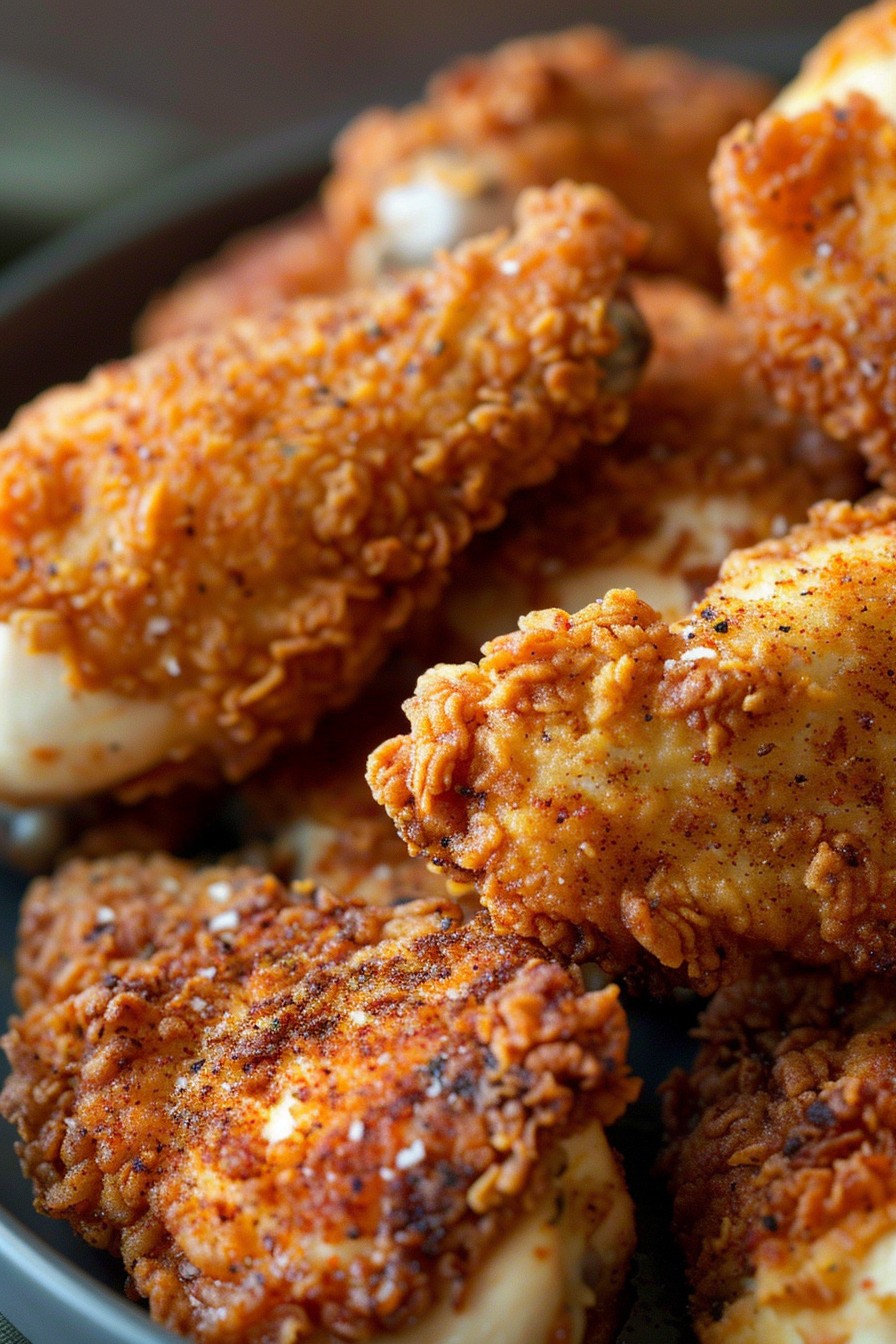
Perfecting the art of fried chicken starts with the batter. This recipe guarantees a crispy, golden exterior with a juicy interior every time. Let’s dive into the magic behind the crunch.
Why This Recipe Works
- The combination of flour and cornstarch ensures a light yet crispy texture.
- Buttermilk tenderizes the chicken, making it juicy and flavorful.
- A double-dipping technique locks in the crunch without being greasy.
- Seasoning the flour mix amplifies the flavor in every bite.
- Frying at the right temperature ensures even cooking and perfect color.
Ingredients
- 2 cups all-purpose flour
- 1/2 cup cornstarch
- 1 tbsp garlic powder
- 1 tbsp paprika
- 1 tsp salt
- 1 tsp black pepper
- 2 cups buttermilk
- 1 whole chicken, cut into pieces
- Vegetable oil, for frying
Equipment Needed
- Deep fryer or large heavy-bottomed pot
- Thermometer
- Mixing bowls
- Whisk
- Tongs
- Paper towels
Instructions
Step 1: Prepare the Chicken
Start by soaking the chicken pieces in buttermilk for at least 4 hours, or overnight if possible. This step is crucial for tenderizing the chicken and infusing it with flavor. Tip: Adding a dash of hot sauce to the buttermilk can give the chicken an extra kick.
Step 2: Mix the Dry Ingredients
In a large bowl, whisk together the flour, cornstarch, garlic powder, paprika, salt, and pepper. This mixture will be the base of your crispy coating. Ensure all the spices are evenly distributed for consistent flavor in every bite.
Step 3: Coat the Chicken
Remove the chicken from the buttermilk, letting the excess drip off. Dredge each piece in the flour mixture, pressing firmly to adhere. Dip back into the buttermilk, then into the flour again for a double coating. This technique ensures an extra crispy exterior.
Step 4: Heat the Oil
Fill your fryer or pot with enough oil to submerge the chicken pieces. Heat to 350°F. Maintaining this temperature is key to cooking the chicken evenly without burning the coating. Tip: Use a thermometer to monitor the oil temperature throughout frying.
Step 5: Fry the Chicken
Carefully add the chicken to the hot oil, frying in batches to avoid overcrowding. Cook for about 12-15 minutes, turning occasionally, until golden brown and the internal temperature reaches 165°F. Drain on paper towels to remove excess oil.
Tips and Tricks
For the crispiest chicken, let the coated pieces sit for a few minutes before frying to allow the coating to set. Experiment with adding different spices to the flour mix, like cayenne for heat or smoked paprika for depth. Always fry in small batches to maintain oil temperature. For a healthier version, try baking the chicken at 400°F for 25-30 minutes after coating, though it won’t be as crispy.
Recipe Variations
- Spicy: Add cayenne pepper or chili powder to the flour mix.
- Herb-infused: Mix dried herbs like thyme or oregano into the flour.
- Gluten-free: Substitute the all-purpose flour with a gluten-free blend.
- Beer batter: Replace buttermilk with beer for a different flavor profile.
- Sweet and spicy: Add brown sugar and cayenne to the flour mix for a sweet heat.
Frequently Asked Questions
Can I use milk instead of buttermilk?
Yes, but buttermilk is preferred for its acidity, which tenderizes the chicken. If using milk, add a tablespoon of vinegar or lemon juice per cup to mimic buttermilk’s properties.
How do I know when the chicken is done?
The chicken is done when it reaches an internal temperature of 165°F and the coating is golden brown. Using a meat thermometer is the most reliable method to check doneness.
Can I make this recipe ahead of time?
While best served fresh, you can keep the fried chicken warm in a 200°F oven for up to an hour. Reheating may reduce crispiness, so enjoy it as soon as possible.
Summary
This crispy fried chicken batter recipe is your ticket to golden, juicy perfection. With the right techniques and a little patience, you’ll achieve restaurant-quality results at home.