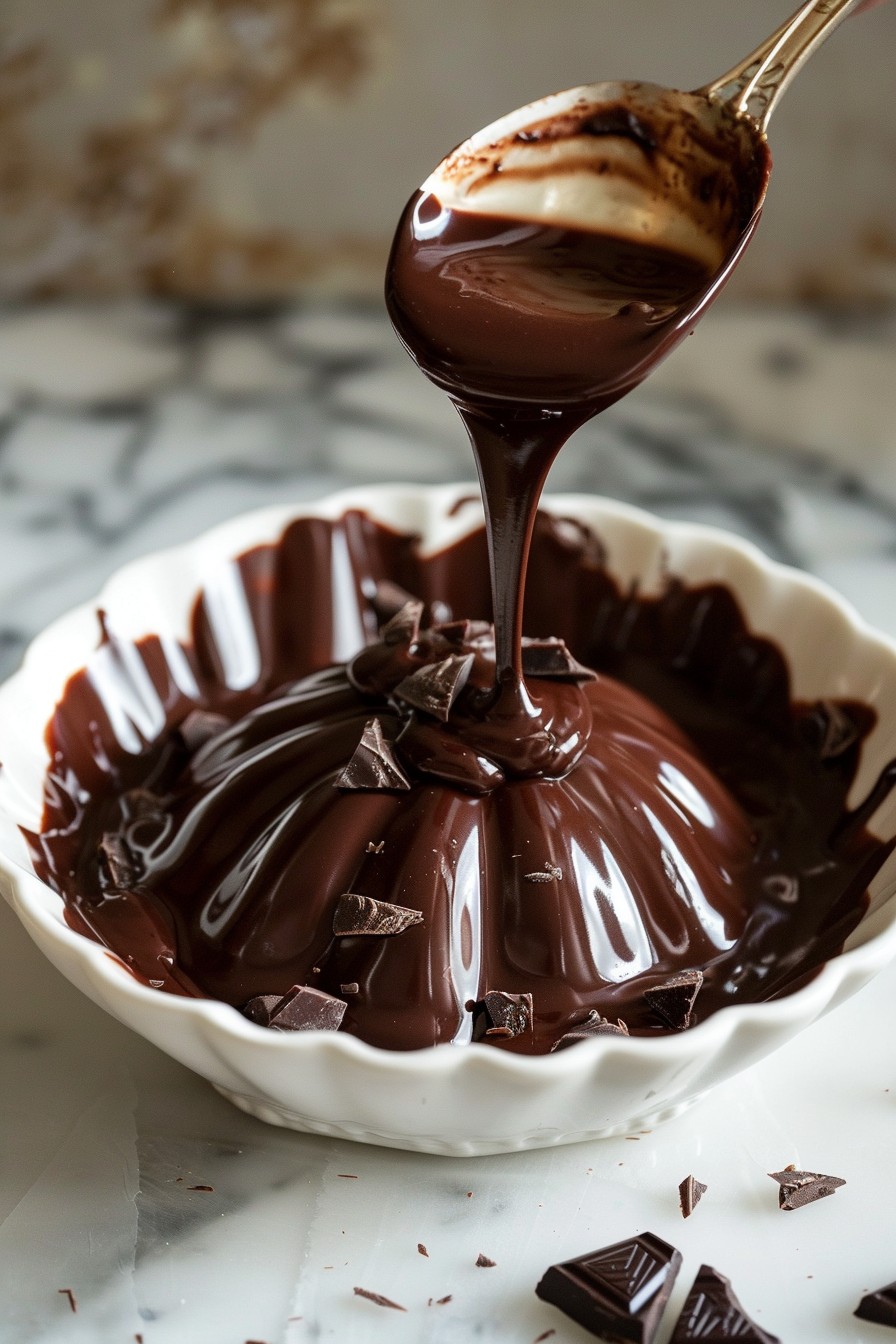
Perfect for elevating your cakes and desserts, this drip ganache recipe is a game-changer. Packed with rich flavor and a glossy finish, it’s surprisingly simple to make. Let’s dive into the world of decadent desserts with this foolproof recipe.
Why This Recipe Works
- Uses high-quality chocolate for a rich, deep flavor that’s unmatched by store-bought versions.
- The perfect ratio of chocolate to cream ensures a smooth, pourable consistency every time.
- Versatile enough to customize with different types of chocolate or flavors.
- Quick and easy to make, with minimal ingredients and equipment needed.
- Creates a professional-looking finish that impresses guests and elevates any dessert.
Ingredients
- 8 oz high-quality semi-sweet chocolate, finely chopped
- 1 cup heavy cream
- 1 tbsp unsalted butter (optional, for extra shine)
Equipment Needed
- Medium saucepan
- Heatproof bowl
- Whisk
- Measuring cups and spoons
- Spatula
Instructions

Step 1: Heat the Cream
Pour the heavy cream into a medium saucepan and heat over medium heat until it just begins to simmer. You’ll see small bubbles forming around the edges, but don’t let it boil. This usually takes about 3-4 minutes. Heating the cream properly is crucial for melting the chocolate smoothly.
Step 2: Melt the Chocolate
Place the finely chopped chocolate in a heatproof bowl. Once the cream is simmering, pour it over the chocolate. Let it sit for 2 minutes to soften the chocolate, then whisk gently until the mixture is smooth and glossy. If you’re using butter, add it now and whisk until fully incorporated.
Step 3: Cool the Ganache
Allow the ganache to cool at room temperature for about 10 minutes. It should thicken slightly but still be pourable. This resting period helps the ganache achieve the perfect consistency for dripping down the sides of your cake.
Step 4: Test the Consistency
Before applying the ganache to your dessert, test its consistency by dripping a small amount down the side of a bowl. It should flow smoothly but not be too runny. If it’s too thick, gently reheat for a few seconds; if too thin, let it cool a bit longer.
Step 5: Apply the Ganache
Pour the ganache over the center of your cooled cake, then use a spatula to gently spread it towards the edges, allowing it to drip down the sides naturally. For a more controlled look, use a piping bag to apply the drips individually.
Tips and Tricks
For an ultra-smooth ganache, strain it through a fine-mesh sieve to remove any lumps. If you’re in a hurry, you can chill the ganache in the fridge for a few minutes to thicken it faster, but stir it every minute to prevent it from setting too hard. Experiment with different chocolates, like dark or milk, to vary the flavor intensity. Adding a splash of vanilla extract or a pinch of sea salt can also elevate the taste.
Recipe Variations
- White Chocolate Ganache: Substitute semi-sweet chocolate with white chocolate for a sweeter, creamier version.
- Mint Ganache: Add a few drops of peppermint extract for a refreshing twist.
- Spiced Ganache: Incorporate a pinch of cinnamon or cayenne pepper for a warm, spicy kick.
- Orange Ganache: Stir in some orange zest or a tablespoon of orange liqueur for a citrusy flavor.
- Coconut Ganache: Use coconut cream instead of heavy cream and add toasted coconut flakes for texture.
Frequently Asked Questions
Can I make ganache ahead of time?
Absolutely! Ganache can be made up to 3 days in advance. Store it in an airtight container in the fridge, then gently reheat it when you’re ready to use. Stir it well to bring back its smooth consistency.
Why is my ganache lumpy?
Lumps usually form if the chocolate isn’t finely chopped or if the cream is too hot, causing the chocolate to seize. To fix it, strain the ganache through a fine-mesh sieve or blend it with an immersion blender until smooth.
Can I use milk instead of cream?
While you can use milk, the ganache won’t be as rich or thick. Cream has a higher fat content, which gives the ganache its luxurious texture and stability. For best results, stick with heavy cream.
Summary
This drip ganache recipe is your ticket to creating stunning, professional-quality desserts at home. With just a few simple ingredients and steps, you can achieve a glossy, flavorful finish that will make your cakes the star of any occasion.