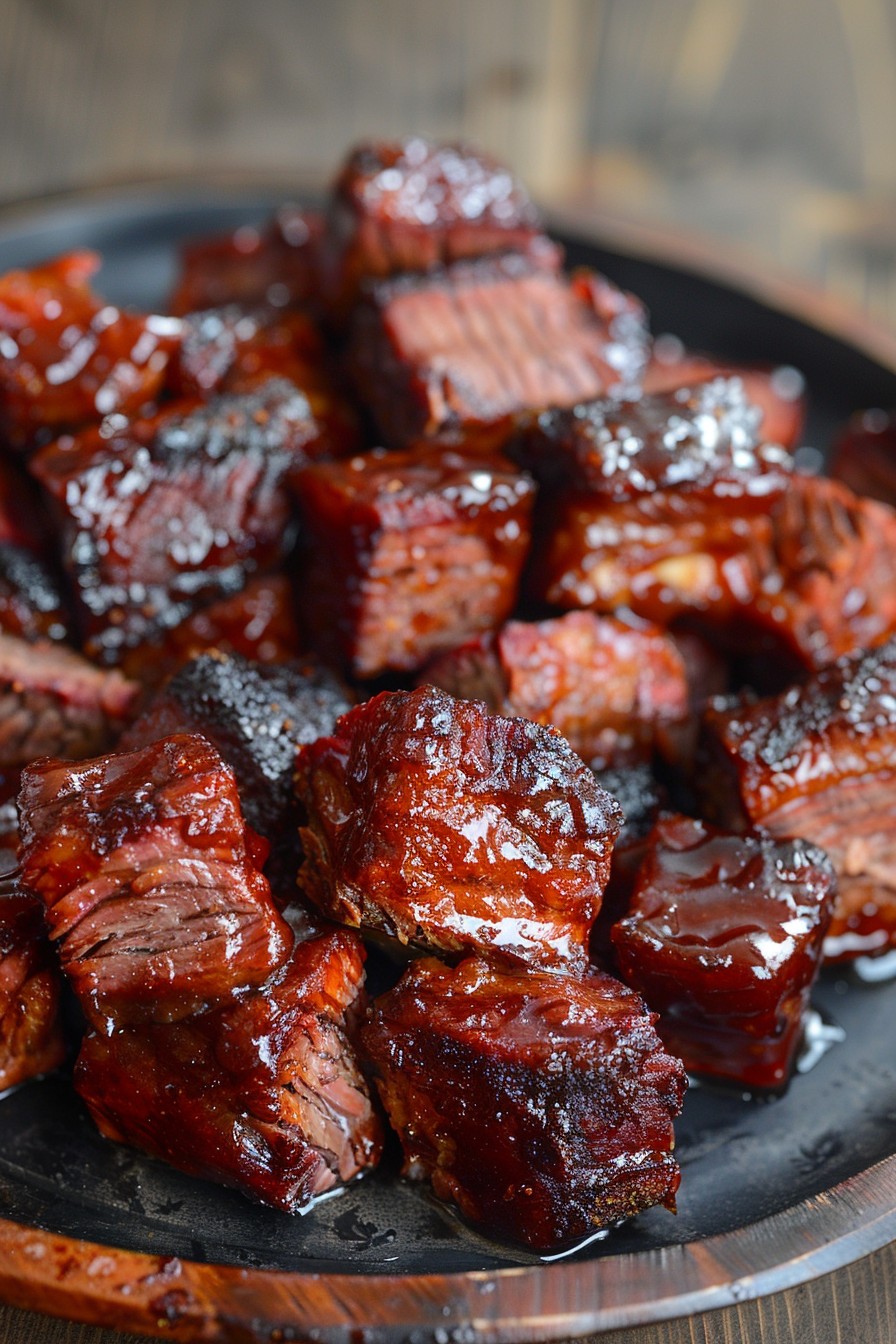
Craving something smoky, sweet, and utterly irresistible? These brisket burnt ends are your ticket to BBQ heaven. Perfect for any gathering, they’re sure to steal the show with their melt-in-your-mouth texture and deep, caramelized flavors.
Why This Recipe Works
- The combination of slow smoking and a final glaze creates layers of flavor that are unmatched.
- Cutting the brisket into cubes maximizes surface area for more bark, the coveted crispy exterior.
- Using a simple yet effective rub ensures the meat is flavorful from the first bite to the last.
- The low and slow cooking method guarantees tender, juicy results every time.
- Finishing with a sweet and tangy glaze adds the perfect contrast to the smoky meat.
Ingredients
- 1 whole beef brisket, about 5 lbs
- 1/2 cup brown sugar
- 1/4 cup paprika
- 2 tbsp garlic powder
- 2 tbsp onion powder
- 1 tbsp salt
- 1 tbsp black pepper
- 1 cup BBQ sauce
- 1/4 cup honey
Equipment Needed
- Smoker or grill
- Butcher paper or aluminum foil
- Sharp knife
- Mixing bowls
- Basting brush
Instructions
Step 1: Prepare the Brisket
Trim any excess fat from the brisket, leaving about 1/4 inch to keep it moist during cooking. Cut the brisket into 1-inch cubes. This size is perfect for getting those crispy edges while keeping the inside tender.
Step 2: Apply the Rub
In a large bowl, mix together the brown sugar, paprika, garlic powder, onion powder, salt, and black pepper. Toss the brisket cubes in the rub until they’re evenly coated. Let them sit for about 30 minutes to absorb the flavors.
Step 3: Smoke the Brisket
Preheat your smoker to 225°F. Arrange the brisket cubes on the grate, making sure they’re not touching. Smoke for about 3 hours, or until they reach an internal temperature of 165°F. The low temperature ensures the meat cooks evenly and stays juicy.
Step 4: Glaze and Finish
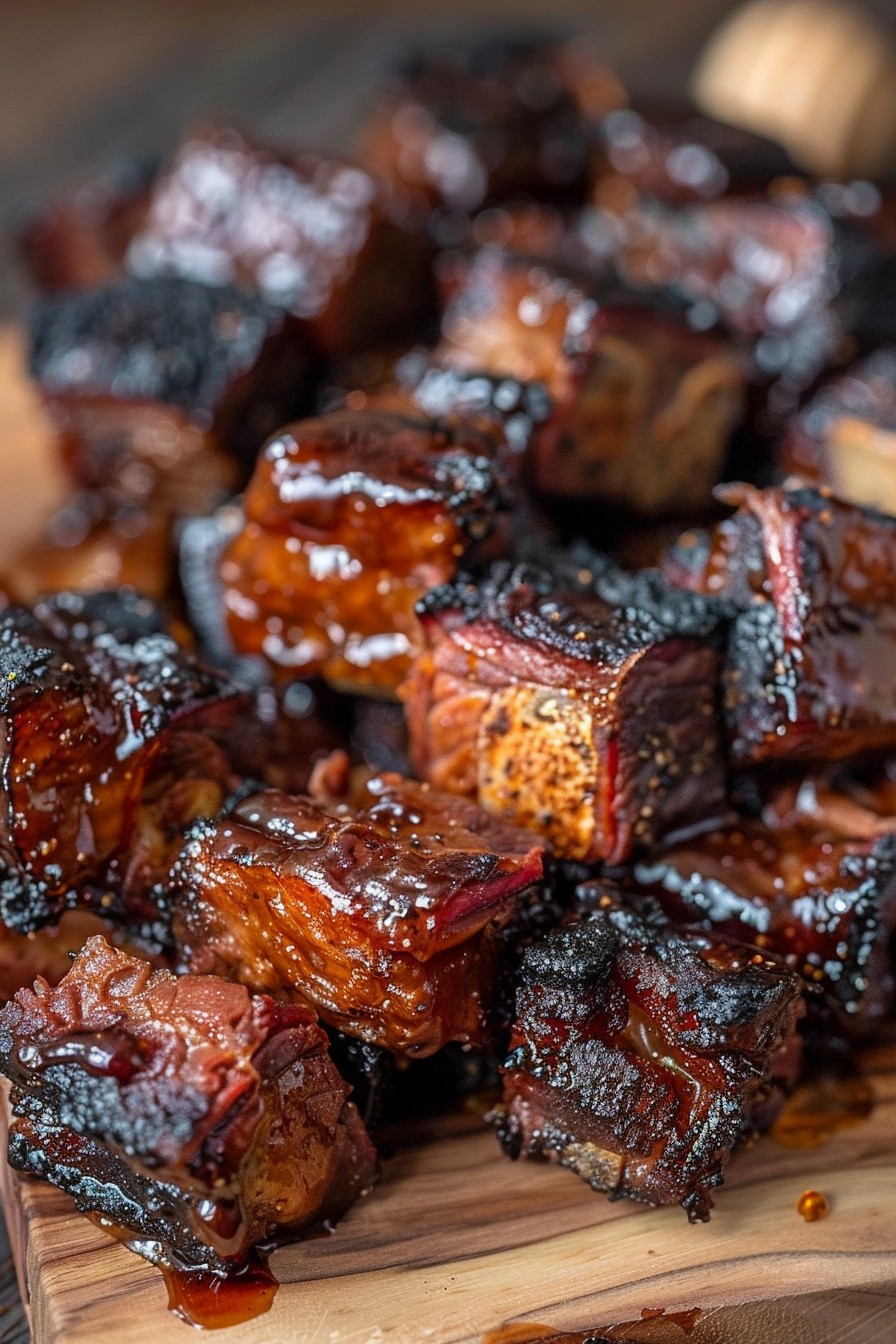
Mix the BBQ sauce and honey in a bowl. Brush the mixture over the brisket cubes, then return them to the smoker for another 30 minutes. The glaze will caramelize, adding a sticky, sweet layer to the smoky meat.
Step 5: Serve and Enjoy
Once the burnt ends are glossy and the internal temperature reaches 203°F, remove them from the smoker. Let them rest for 10 minutes before serving to allow the juices to redistribute. Serve warm and watch them disappear!
Tips and Tricks
For the best results, use a hardwood like hickory or oak for smoking, as they impart a deep, smoky flavor that complements the beef. If you’re short on time, you can increase the smoker temperature to 250°F, but keep a close eye on the meat to prevent drying out. Always let the meat rest after cooking to ensure it’s juicy and tender. Experiment with different glazes, like adding a bit of apple cider vinegar for tang or some hot sauce for heat. And remember, the key to perfect burnt ends is patience—low and slow is the way to go.
Recipe Variations
- Try using different types of wood for smoking, such as cherry or mesquite, to vary the flavor profile.
- For a spicier version, add cayenne pepper or chili powder to the rub.
- Substitute the honey in the glaze with maple syrup for a different kind of sweetness.
- Add a splash of bourbon to the glaze for a grown-up twist.
- For a quicker version, use pre-cooked brisket and focus on the glazing and finishing steps.
Frequently Asked Questions
Can I make burnt ends in the oven?
Yes, you can! While you won’t get the smoky flavor, you can achieve similar results by roasting the brisket cubes at 225°F until tender, then broiling them with the glaze to caramelize the exterior.
How do I store leftovers?
Store any leftover burnt ends in an airtight container in the refrigerator for up to 3 days. Reheat them in the oven or on the grill to bring back some of the crispiness.
Can I use a different cut of meat?
While brisket is traditional, you can also use chuck roast or short ribs for a similar texture. Just keep in mind that cooking times may vary depending on the cut.
Summary
These brisket burnt ends are a BBQ lover’s dream, combining smoky, sweet, and savory flavors in every bite. Perfect for any occasion, they’re sure to impress with minimal effort. Follow the steps, and you’ll have a dish that’s as fun to make as it is to eat.