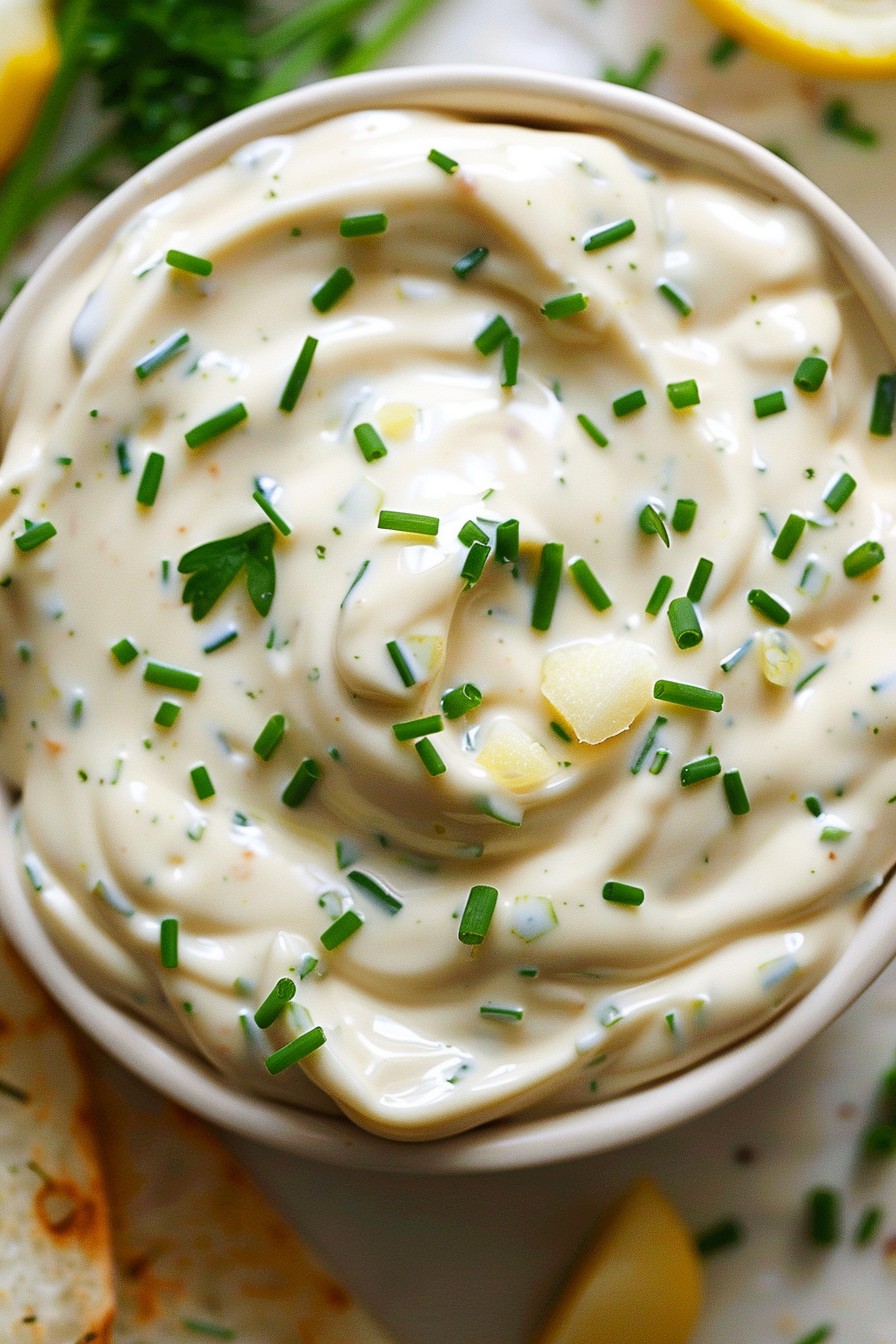
Now, let’s dive into the world of homemade aioli, where garlic and herbs come together to create a sauce so versatile, you’ll want to put it on everything. This garlic herb aioli is not just any condiment; it’s a game-changer for your sandwiches, burgers, and even as a dip for your favorite snacks.
Why This Recipe Works
- It combines the bold flavors of fresh garlic and aromatic herbs for a condiment that’s bursting with flavor.
- Using high-quality mayonnaise as the base ensures a creamy, smooth texture that’s perfect for spreading or dipping.
- The addition of lemon juice adds a bright, tangy note that balances the richness of the mayonnaise.
- It’s incredibly versatile, serving as the perfect accompaniment to a wide range of dishes.
- This recipe is quick and easy, requiring no cooking and just a few minutes of your time.
Ingredients
- 1 cup mayonnaise
- 2 cloves garlic, minced
- 1 tablespoon fresh lemon juice
- 1 tablespoon chopped fresh parsley
- 1 tablespoon chopped fresh chives
- 1/2 teaspoon salt
- 1/4 teaspoon black pepper
Equipment Needed
- Mixing bowl
- Whisk
- Measuring spoons
- Knife and cutting board
Instructions
Step 1: Combine the Base Ingredients
In a medium mixing bowl, add the mayonnaise, minced garlic, and lemon juice. Whisk these ingredients together until they are fully combined. The garlic should be evenly distributed throughout the mayonnaise to ensure every bite is flavorful. Tip: For a smoother aioli, you can press the garlic through a garlic press instead of mincing it.
Step 2: Add the Herbs
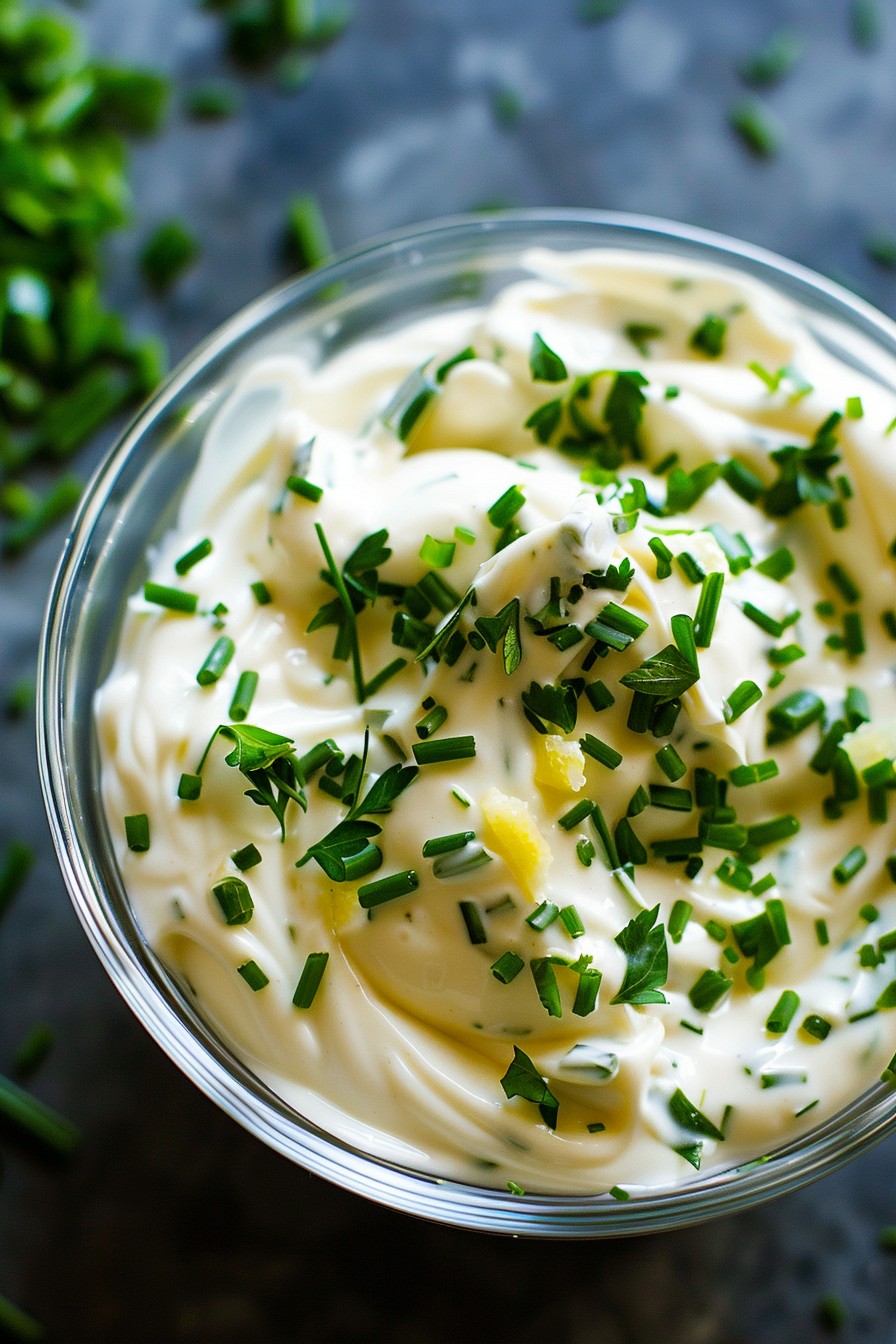
Once the base is mixed, stir in the chopped parsley and chives. These herbs not only add a pop of color but also bring a fresh, aromatic flavor to the aioli. Make sure the herbs are finely chopped to avoid large pieces in your sauce. Tip: If you’re not a fan of chives, you can substitute them with dill for a different flavor profile.
Step 3: Season to Taste
Add the salt and black pepper to the mixture. Start with the recommended amounts, then taste and adjust as needed. Remember, the flavors will meld and intensify as the aioli sits, so it’s better to start with less seasoning and add more if necessary. Tip: For an extra kick, a pinch of cayenne pepper can be added at this stage.
Step 4: Let It Rest
Cover the bowl with plastic wrap and let the aioli rest in the refrigerator for at least 30 minutes before serving. This resting period allows the flavors to develop and meld together, resulting in a more cohesive and flavorful sauce.
Step 5: Serve and Enjoy
After the aioli has rested, give it a quick stir and then serve it with your favorite dishes. Whether it’s slathered on a sandwich, used as a dip for fries, or dolloped on grilled meats, this garlic herb aioli is sure to elevate your meal.
Tips and Tricks
For those looking to take their garlic herb aioli to the next level, consider these advanced tips. First, using homemade mayonnaise instead of store-bought can significantly enhance the flavor and texture of your aioli. Second, experimenting with different herbs like tarragon or basil can introduce new flavor dimensions. Lastly, for a smokier version, try roasting the garlic before adding it to the mixture. These small tweaks can make a big difference in the final product.
Recipe Variations
- Spicy Aioli: Add a teaspoon of sriracha or chopped jalapeños for a spicy twist.
- Smoked Paprika Aioli: Incorporate a teaspoon of smoked paprika for a deep, smoky flavor.
- Citrus Aioli: Replace the lemon juice with lime or orange juice for a different citrus note.
- Herb-Free Aioli: Focus on the garlic by omitting the herbs for a pure garlic aioli experience.
- Vegan Aioli: Use vegan mayonnaise to make this recipe suitable for those following a plant-based diet.
Frequently Asked Questions
Can I make this aioli ahead of time?
Absolutely! This aioli can be made up to 3 days in advance and stored in the refrigerator in an airtight container. In fact, making it ahead allows the flavors to meld together even more, resulting in a tastier sauce. Just give it a good stir before serving to ensure the consistency is smooth and creamy.
How long does homemade aioli last?
When stored properly in the refrigerator, homemade aioli can last for up to 1 week. Make sure to keep it in an airtight container to prevent it from absorbing other flavors from your fridge. If you notice any off smells or changes in texture, it’s best to discard it.
Can I freeze garlic herb aioli?
Freezing aioli is not recommended as the mayonnaise base can separate and become grainy when thawed. This can affect both the texture and flavor of your aioli. For the best results, enjoy it fresh or keep it refrigerated for up to a week.
Summary
This garlic herb aioli recipe is a simple yet flavorful condiment that can elevate any dish. With just a few ingredients and minimal effort, you can create a versatile sauce that’s perfect for sandwiches, dips, and more. Customize it with your favorite herbs and spices to make it your own.