Unlock the secret to making your own ghee at home with this simple, foolproof recipe. Ghee, or clarified butter, is a staple in many cuisines and is celebrated for its rich, nutty flavor and high smoke point. Perfect for cooking, baking, or just drizzling over your favorite dishes.
Why This Recipe Works
- Simple Ingredients: All you need is unsalted butter and a bit of patience. No fancy ingredients here!
- Enhanced Flavor: Slowly simmering the butter brings out a deep, nutty flavor that’s unmistakably ghee.
- Long Shelf Life: Properly made ghee can last for months without refrigeration, making it a pantry staple.
- Versatile: Use it for cooking, baking, or as a dairy-free butter alternative.
Ingredients
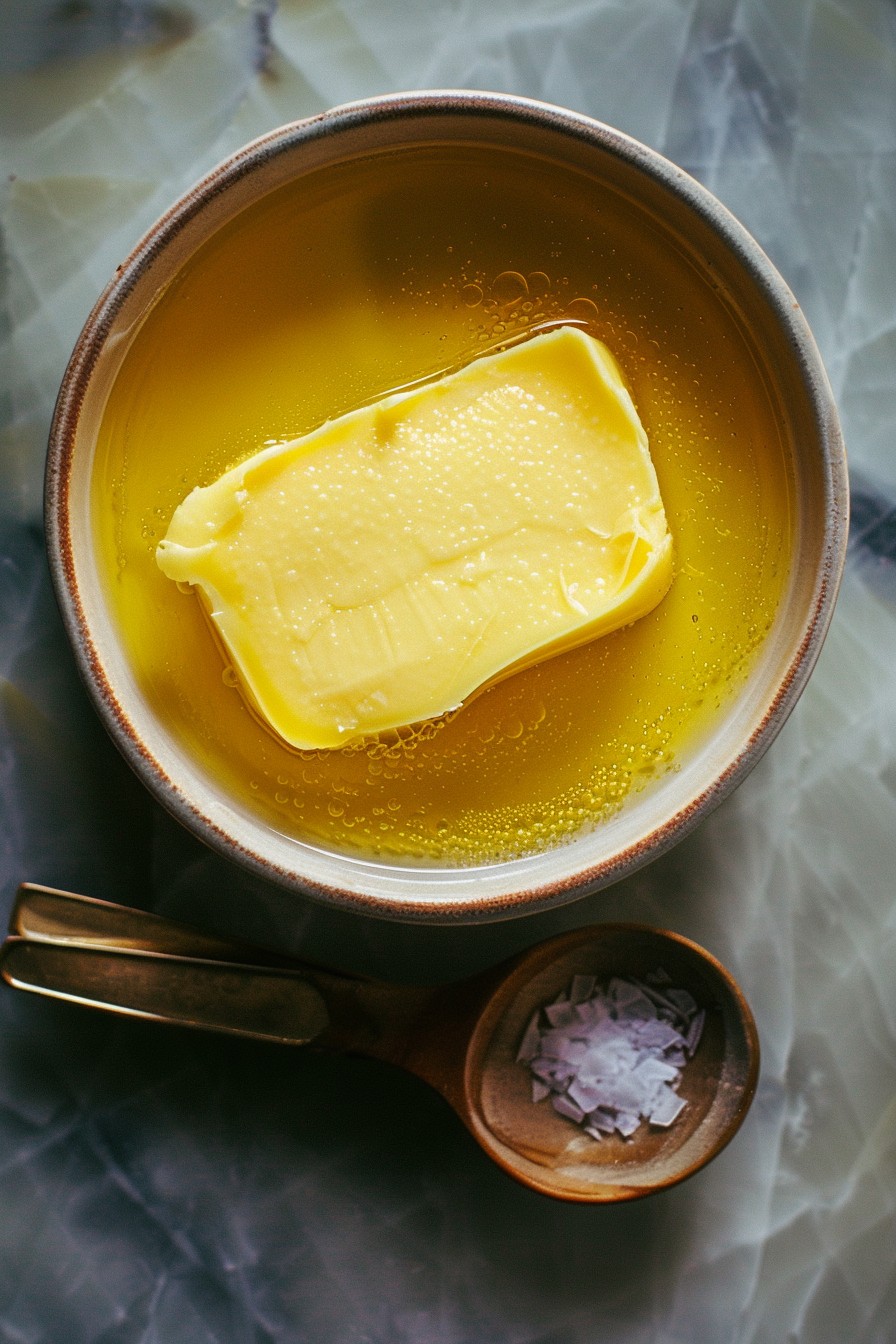
- 1 pound unsalted butter (preferably organic)
Equipment Needed
- Heavy-bottomed saucepan
- Cheesecloth or fine mesh strainer
- Glass jar for storage
Instructions

Step 1: Melt the Butter
Place the butter in a heavy-bottomed saucepan over medium heat. Allow it to melt slowly, which should take about 5 minutes. Stir occasionally to ensure even melting. Tip: Using a heavy-bottomed pan prevents the butter from burning too quickly.
Step 2: Simmer to Separate
Once melted, reduce the heat to low. The butter will begin to foam, and then the foam will subside. This process takes about 10-15 minutes. You’ll see the milk solids separate and settle at the bottom.
Step 3: Watch for the Golden Color
After the foam subsides, keep a close eye. The ghee will turn a beautiful golden color, and the milk solids at the bottom will brown slightly. This is when the nutty aroma becomes pronounced, usually after another 5 minutes.
Step 4: Strain the Ghee
Remove the saucepan from heat. Let it cool for a couple of minutes, then strain the liquid through a cheesecloth or fine mesh strainer into a glass jar. Tip: Ensure all milk solids are removed for a clear, pure ghee.
Step 5: Cool and Store
Allow the ghee to cool to room temperature before sealing the jar. It will solidify slightly but remain spreadable. Store in a cool, dark place or refrigerate for extended shelf life.
Tips and Tricks
Making ghee is straightforward, but here are some pro tips to elevate your ghee game. First, always use unsalted butter to control the saltiness of your dishes. Second, organic butter tends to yield a cleaner, more flavorful ghee. Third, the color and aroma are your best indicators; golden and nutty means it’s done. Overcooking can lead to a bitter taste. Lastly, if you’re into infused ghee, add herbs or spices during the cooling phase for an aromatic twist.
Recipe Variations
- Herb-Infused Ghee: Add rosemary, thyme, or garlic during the cooling process for a flavored ghee.
- Spiced Ghee: Incorporate cinnamon, cardamom, or turmeric for a warm, spiced version perfect for baking or teas.
- Smoked Ghee: Use smoked butter as your base for a deeply aromatic ghee with a barbecue vibe.
Frequently Asked Questions
Can I use salted butter to make ghee?
While you can use salted butter, it’s not recommended. The salt can make the ghee taste overly salty and may affect its shelf life. Unsalted butter gives you control over the seasoning of your dishes.
How long does homemade ghee last?
Homemade ghee can last up to 3 months at room temperature if stored properly in an airtight container away from light. Refrigerating can extend its shelf life up to a year.
Can I reuse the leftover milk solids?
Absolutely! The browned milk solids are delicious and can be used as a topping for toast, mixed into rice, or added to baked goods for extra flavor.
Summary
Making ghee at home is easy, rewarding, and yields a versatile ingredient that enhances any dish. With just one ingredient and some patience, you can create a kitchen staple that’s both flavorful and functional.