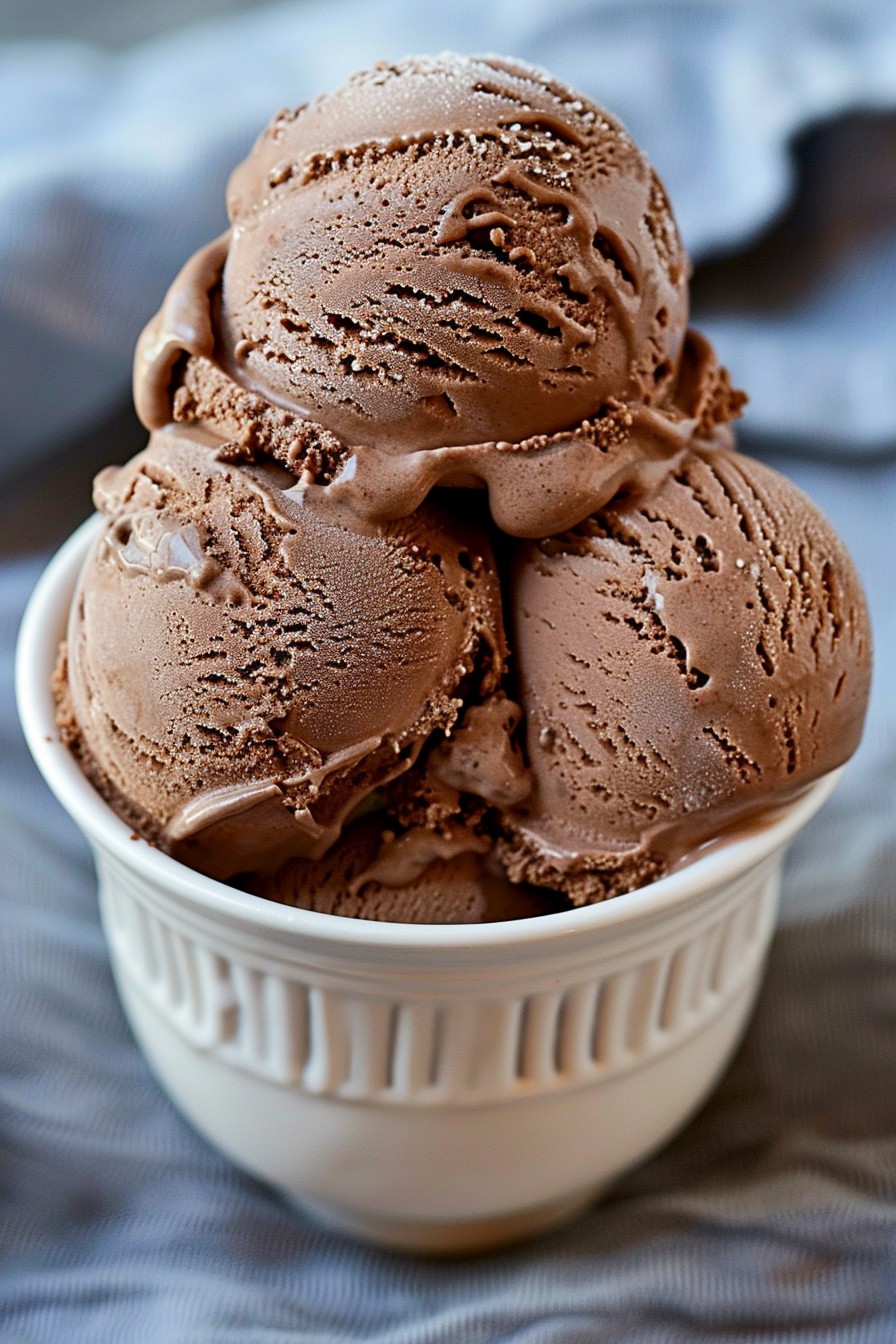
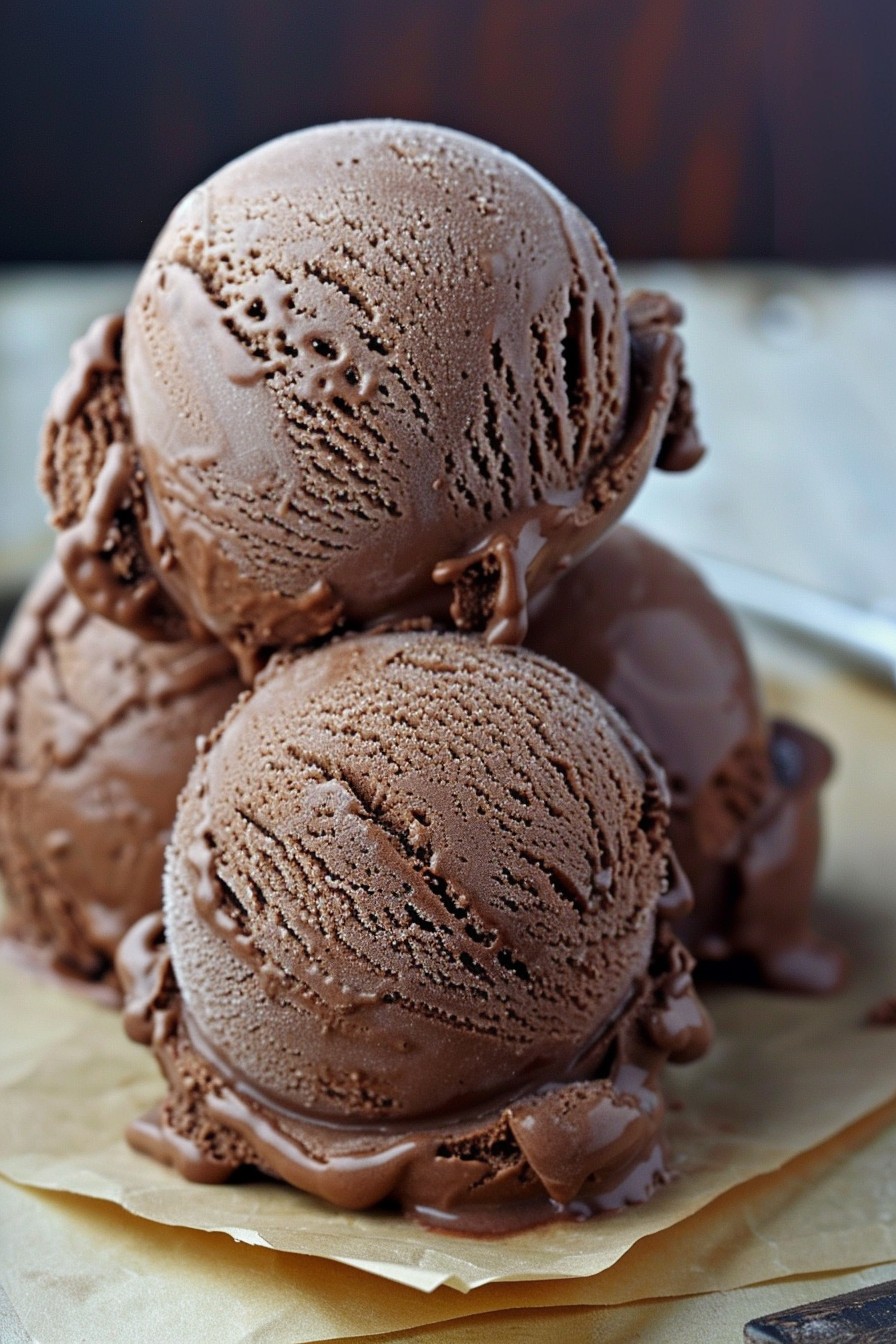
Oh, the joy of homemade ice cream! This Ninja Creami Chocolate Ice Cream recipe is your ticket to creamy, dreamy dessert heaven. With just a few simple ingredients and your Ninja Creami, you’ll be whipping up batches of this rich, chocolatey delight in no time. Perfect for those hot summer days or whenever your sweet tooth calls.
Why This Recipe Works
- Ultra-Creamy Texture: Thanks to the Ninja Creami’s unique spinning blade, this ice cream achieves a smooth, creamy texture that’s hard to resist.
- Rich Chocolate Flavor: Using high-quality cocoa powder ensures a deep, rich chocolate taste that’s not too sweet.
- Simple Ingredients: With just a handful of pantry staples, this recipe is both easy and economical.
- Customizable: Easily adjust the sweetness or add mix-ins to suit your taste.
Ingredients
- 2 cups heavy cream
- 1 cup whole milk
- 3/4 cup granulated sugar
- 1/2 cup unsweetened cocoa powder
- 1 tsp vanilla extract
- 1/4 tsp salt
Equipment Needed
- Ninja Creami
- Mixing bowl
- Whisk
- Measuring cups and spoons
Instructions
Step 1: Mix Your Base
In a large mixing bowl, combine the heavy cream, whole milk, granulated sugar, unsweetened cocoa powder, vanilla extract, and salt. Whisk until the sugar and cocoa powder are fully dissolved and the mixture is smooth. This is your ice cream base, and it’s important to ensure there are no lumps for the creamiest texture.
Step 2: Freeze
Pour the mixture into your Ninja Creami pint container, leaving about an inch of space at the top for expansion. Secure the lid and freeze for 24 hours. This long freeze ensures your ice cream will be perfectly solid before spinning.
Step 3: Spin It Up
After freezing, place the pint into the Ninja Creami and select the ‘Ice Cream’ function. Let the machine work its magic for about 2 minutes, or until the ice cream reaches your desired consistency. If it’s too soft, you can respin for a firmer texture.
Step 4: Serve Immediately
Once spun, your chocolate ice cream is ready to enjoy right away. Scoop it into bowls or cones for a delicious treat. For a firmer texture, you can freeze it for an additional hour before serving.
Tips and Tricks
For those looking to elevate their Ninja Creami Chocolate Ice Cream, consider these advanced tips. First, toasting your cocoa powder before adding it to the mixture can deepen the chocolate flavor. Second, adding a tablespoon of vodka or another spirit can prevent the ice cream from freezing too hard, making it easier to scoop. Lastly, for an extra creamy texture, you can substitute half of the heavy cream with cream cheese, blending it smoothly into the base.
Recipe Variations
- Mint Chocolate Chip: Add a teaspoon of peppermint extract and a handful of chocolate chips during the last spin.
- Rocky Road: Mix in mini marshmallows and chopped nuts after spinning.
- Chocolate Peanut Butter: Swirl in peanut butter during the last spin for a decadent twist.
Frequently Asked Questions
Can I use low-fat milk instead of whole milk? While you can, the texture won’t be as creamy. Whole milk contributes to the richness and creaminess of the ice cream, so it’s recommended for the best results.
How long can I store the ice cream? This ice cream is best enjoyed within a week of making it. After that, it may start to develop ice crystals and lose its creamy texture.
Can I make this recipe without a Ninja Creami? Unfortunately, this recipe is specifically designed for the Ninja Creami’s unique spinning function. Without it, you won’t achieve the same creamy texture.
Summary
This Ninja Creami Chocolate Ice Cream recipe is a simple, delicious way to enjoy homemade ice cream. With its rich chocolate flavor and creamy texture, it’s sure to become a favorite. Plus, it’s easily customizable to suit any taste.