Some say pot roast is a dish best left to slow cookers, but we’re here to prove them wrong. Sous vide pot roast is a game-changer, offering unparalleled tenderness and flavor. Let’s dive into how you can achieve this culinary masterpiece in your own kitchen.
Why This Recipe Works
- Precision cooking ensures your pot roast is perfectly tender, not overcooked or underdone.
- Sous vide locks in flavors and juices, making every bite succulent.
- The low and slow method breaks down tough fibers without drying out the meat.
- It’s foolproof! Set it and forget it until it’s time to sear.
- Customizable seasoning means you can tailor the flavor to your liking.
Ingredients
- 3 lbs chuck roast
- 2 tbsp olive oil
- 1 tsp salt
- 1 tsp black pepper
- 2 cloves garlic, minced
- 1 sprig rosemary
- 1 cup beef broth
Equipment Needed
- Sous vide machine
- Large pot or container
- Vacuum sealer or zip-top bags
- Tongs
- Cast iron skillet
Instructions
Step 1: Season and Seal
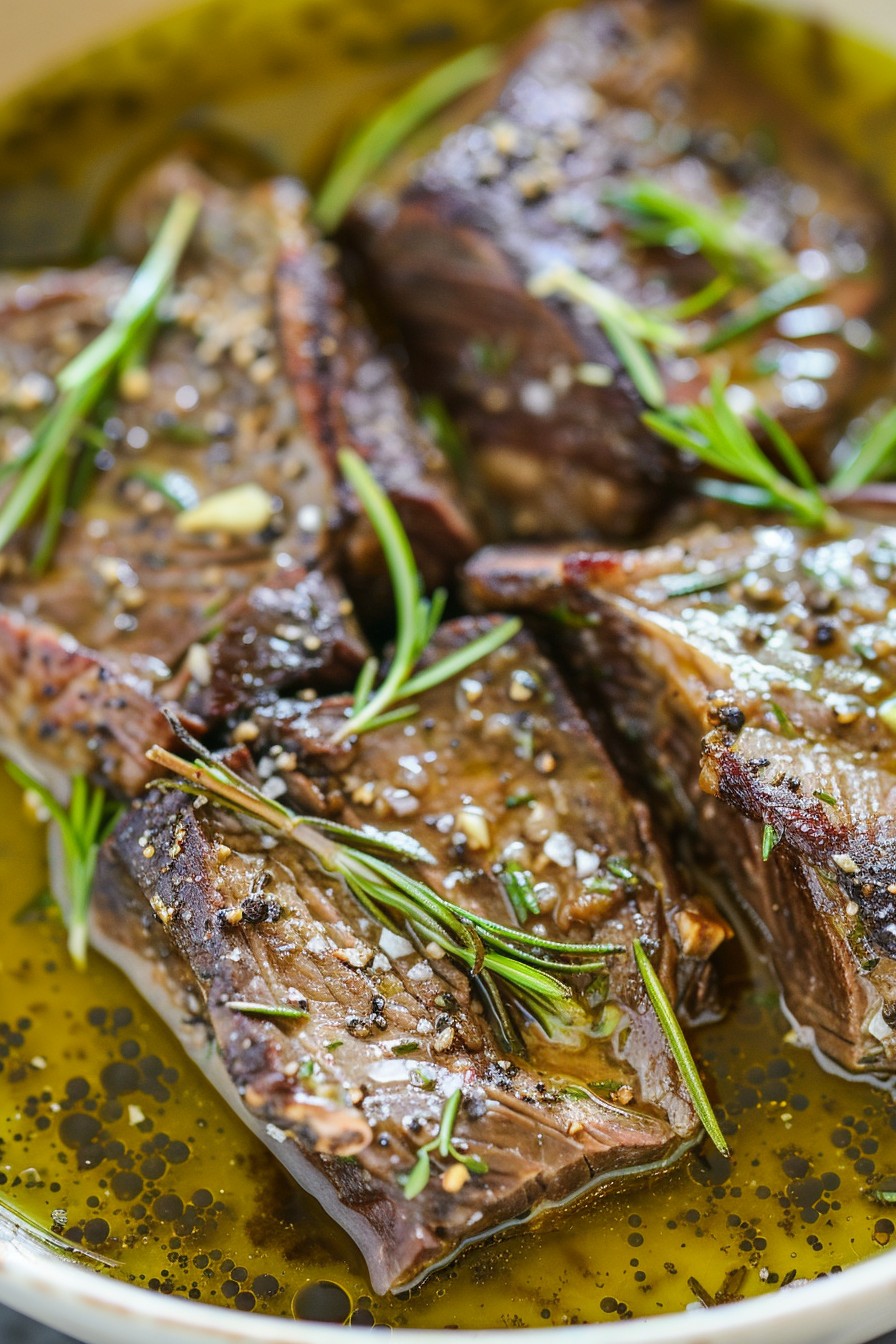
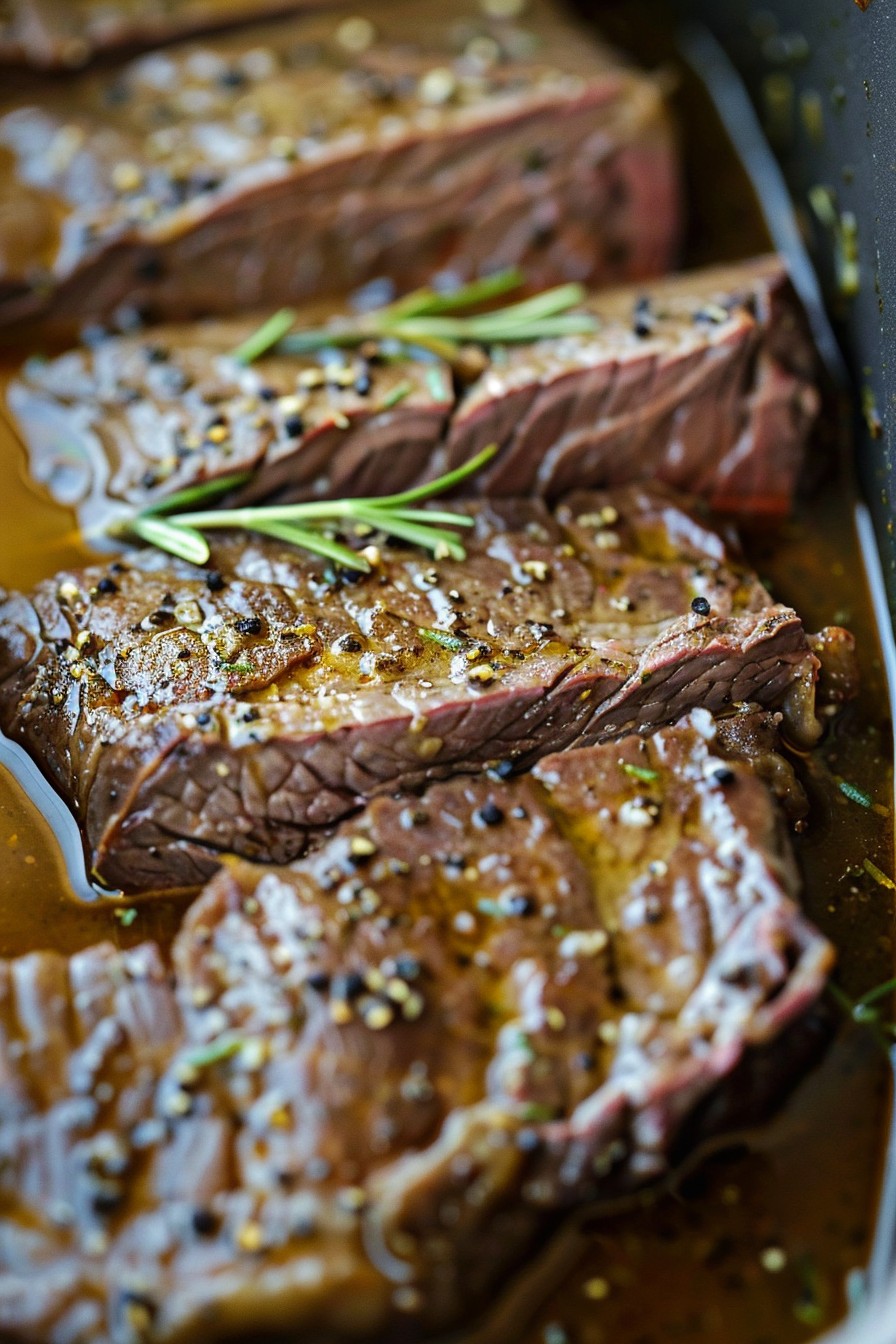
Start by seasoning your chuck roast generously with salt and pepper. Add minced garlic and a sprig of rosemary for that aromatic touch. Place the seasoned roast in a vacuum-sealed bag or a zip-top bag using the water displacement method. Tip: For extra flavor, let the roast marinate in the fridge for a few hours before cooking.
Step 2: Sous Vide Cooking
Preheat your sous vide water bath to 135°F for medium-rare or 145°F for medium. Once the water reaches the desired temperature, submerge the sealed roast in the water bath. Cook for 24 to 36 hours. The longer it cooks, the more tender it becomes. Tip: Ensure the roast is fully submerged by using a weight if necessary.
Step 3: Prepare for Searing
After the cooking time is up, remove the roast from the bag and pat it dry with paper towels. This step is crucial for achieving a good sear. Heat a cast iron skillet over high heat and add olive oil. Tip: For an even better crust, chill the roast in the fridge for 10 minutes before searing.
Step 4: Sear the Roast
Sear the roast on all sides in the hot skillet until a golden-brown crust forms, about 1-2 minutes per side. This step adds texture and depth of flavor. Once seared, let the roast rest for a few minutes before slicing.
Step 5: Serve and Enjoy
Slice the pot roast against the grain for maximum tenderness. Serve with your favorite sides, like mashed potatoes or roasted vegetables, and drizzle with the juices from the bag for added flavor.
Tips and Tricks
For those looking to elevate their sous vide pot roast, consider these advanced tips. First, adding a splash of red wine to the bag before cooking can introduce a rich, complex flavor. Second, experimenting with different herbs and spices, such as thyme or smoked paprika, can customize the taste to your preference. Lastly, for an even more luxurious finish, whisk a tablespoon of butter into the bag juices before drizzling over the sliced roast.
Recipe Variations
- Try using different cuts of meat, like brisket or short ribs, for a unique twist.
- Incorporate root vegetables into the bag for a one-pot meal.
- Swap beef broth for mushroom or onion broth for a different flavor profile.
- Add a spicy kick with chili flakes or cayenne pepper in the seasoning.
- For a smoky flavor, finish the roast on the grill instead of searing in a skillet.
Frequently Asked Questions
Q: Can I cook the pot roast for less than 24 hours?
A: While you can cook it for less time, the magic of sous vide lies in the low and slow process. Cooking for at least 24 hours ensures the connective tissues break down properly, resulting in that melt-in-your-mouth texture.
Q: Do I need to sear the roast after sous vide?
A: Searing isn’t strictly necessary, but it adds a delicious crust and enhances the flavor. If you’re short on time, you can skip it, but we highly recommend it for the best experience.
Q: Can I use frozen meat for this recipe?
A: Yes! Sous vide is great for cooking frozen meat. Just add an extra hour to the cooking time to ensure it cooks through evenly.
Summary
This sous vide pot roast recipe guarantees a perfectly tender and flavorful dish with minimal effort. By following these steps and tips, you’ll impress your family and friends with your culinary skills. Happy cooking!