Very few things in life are as universally loved as a scoop of traditional ice cream. Whether it’s a sunny afternoon or a cozy night in, this classic treat never fails to delight. Today, I’m sharing my foolproof recipe that promises creamy, dreamy perfection every time.
Why This Recipe Works
- Rich and Creamy Texture: The combination of heavy cream and whole milk ensures a luxuriously smooth texture that’s hard to resist.
- Perfect Sweetness: Just the right amount of sugar balances the flavors without overpowering the delicate creaminess.
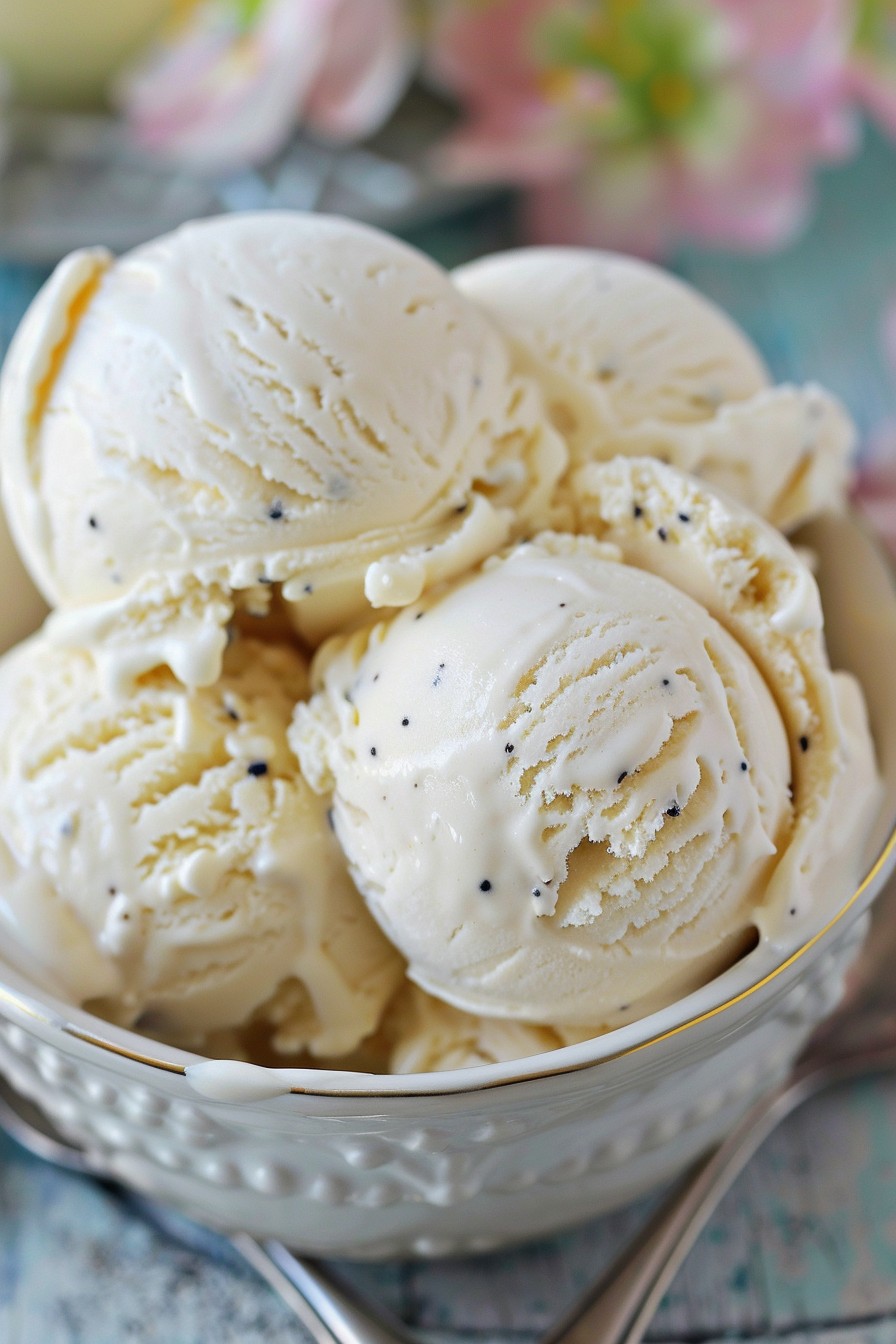
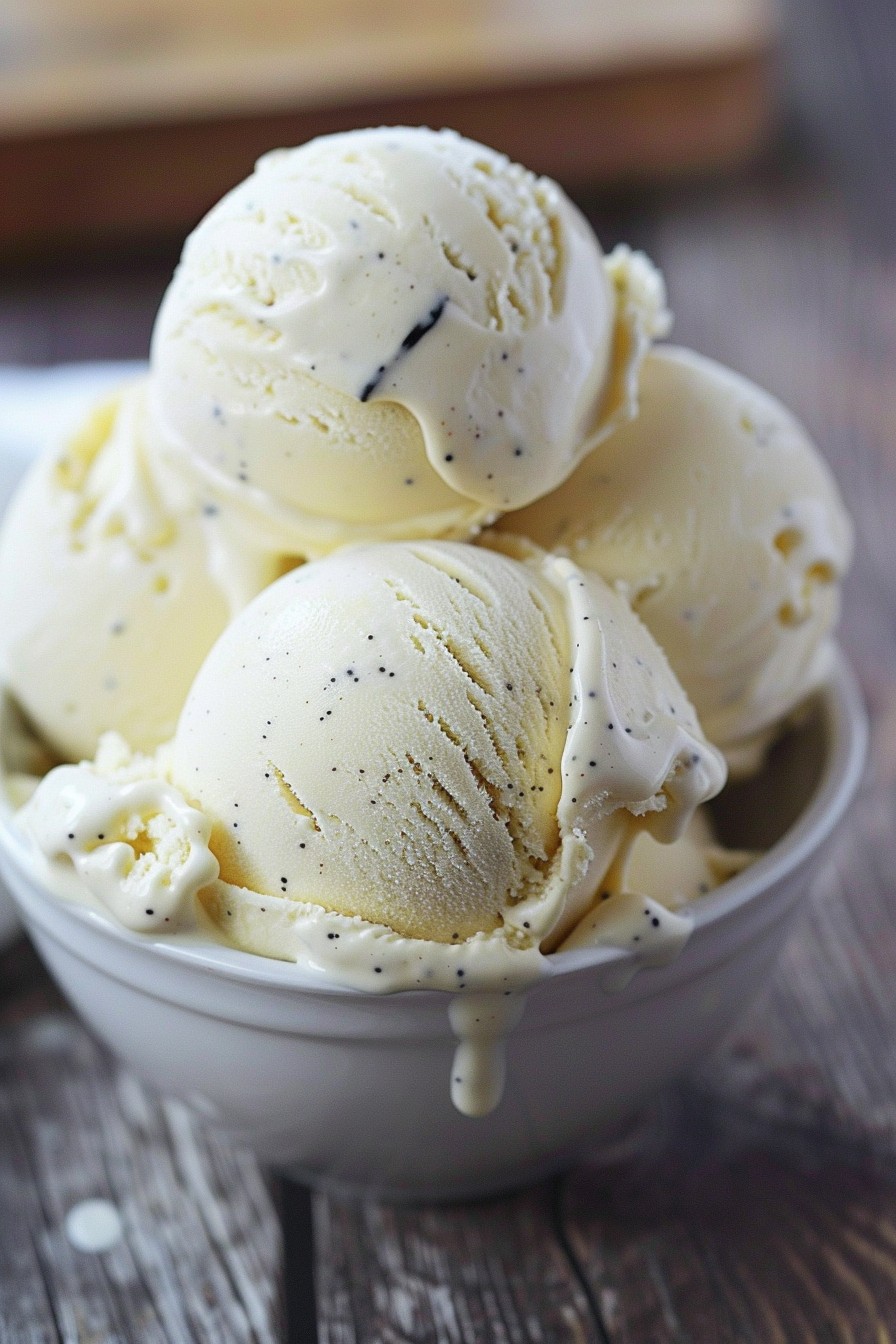
- Vanilla Bean Magic: Using real vanilla bean instead of extract elevates the flavor to gourmet levels.
- No Ice Crystals: The addition of a pinch of salt and careful churning prevents those pesky ice crystals, guaranteeing a silky finish.
Ingredients
- 2 cups heavy cream
- 1 cup whole milk
- 3/4 cup granulated sugar
- 1 vanilla bean, split and scraped
- 1/8 teaspoon salt
Equipment Needed
- Ice cream maker
- Medium saucepan
- Mixing bowls
- Whisk
- Fine mesh strainer
Instructions
Step 1: Combine the Creamy Base
In a medium saucepan, combine the heavy cream, whole milk, sugar, and the scraped seeds from the vanilla bean. Warm the mixture over medium heat, stirring occasionally, until the sugar has completely dissolved. This should take about 5 minutes. Do not let it boil. Tip: For an even richer flavor, you can steep the vanilla pod in the mixture for an extra 10 minutes before removing it.
Step 2: Chill the Mixture
Once the sugar is dissolved, remove the saucepan from the heat and stir in the salt. Transfer the mixture to a mixing bowl and cover it with plastic wrap, pressing the wrap directly onto the surface to prevent a skin from forming. Chill in the refrigerator for at least 4 hours, or overnight for best results. Tip: The colder your mixture is before churning, the smoother your ice cream will be.
Step 3: Churn the Ice Cream
Pour the chilled mixture into your ice cream maker and churn according to the manufacturer’s instructions, usually about 20-25 minutes. The ice cream should look like soft-serve when it’s ready. Tip: If you don’t have an ice cream maker, you can freeze the mixture in a shallow dish, stirring every 30 minutes until it reaches the desired consistency, though this method may take a bit longer.
Step 4: Freeze to Perfection
Transfer the churned ice cream to an airtight container and freeze for at least 2 hours before serving. This allows the ice cream to firm up to the perfect scoopable texture.
Tips and Tricks
Making traditional ice cream is as much an art as it is a science. Here are some pro tips to ensure your ice cream is always a hit: Always use the freshest ingredients possible, especially the dairy, as it’s the star of the show. If you’re using an ice cream maker, make sure the bowl is fully frozen according to the manufacturer’s instructions before you start churning. For those who love a bit of texture in their ice cream, consider adding mix-ins like chocolate chips, nuts, or fruit during the last few minutes of churning. And remember, patience is key—don’t rush the chilling or freezing processes, as they’re crucial for achieving that perfect creamy texture.
Recipe Variations
- Chocolate Lover’s Dream: Add 1/2 cup of cocoa powder to the cream mixture before heating for a rich chocolate flavor.
- Fruity Delight: Fold in 1 cup of pureed strawberries or raspberries after churning for a refreshing fruit ice cream.
- Coffee Infusion: Dissolve 2 tablespoons of instant coffee in the warm cream mixture for a caffeine kick.
- Cookie Crunch: Mix in 1 cup of crushed cookies during the last few minutes of churning for added texture.
Frequently Asked Questions
Can I use vanilla extract instead of a vanilla bean?
Yes, you can substitute 1 tablespoon of pure vanilla extract for the vanilla bean. However, the flavor won’t be as nuanced, and you’ll miss those beautiful little vanilla specks that make the ice cream look so inviting.
How long can I store homemade ice cream?
Homemade ice cream is best enjoyed within a week of making it. After that, it may start to develop ice crystals or lose its creamy texture. Always store it in an airtight container to minimize exposure to air.
Can I make this recipe without an ice cream maker?
Absolutely! While an ice cream maker gives the best texture, you can achieve decent results by freezing the mixture in a shallow dish and stirring it every 30 minutes until it reaches the desired consistency. It requires more effort but is totally doable.
Summary
This traditional ice cream recipe is a testament to the beauty of simplicity. With just a few high-quality ingredients and a little patience, you can create a dessert that’s sure to impress. Whether you stick to the classic vanilla or experiment with variations, the result is always a scoop of pure happiness.